
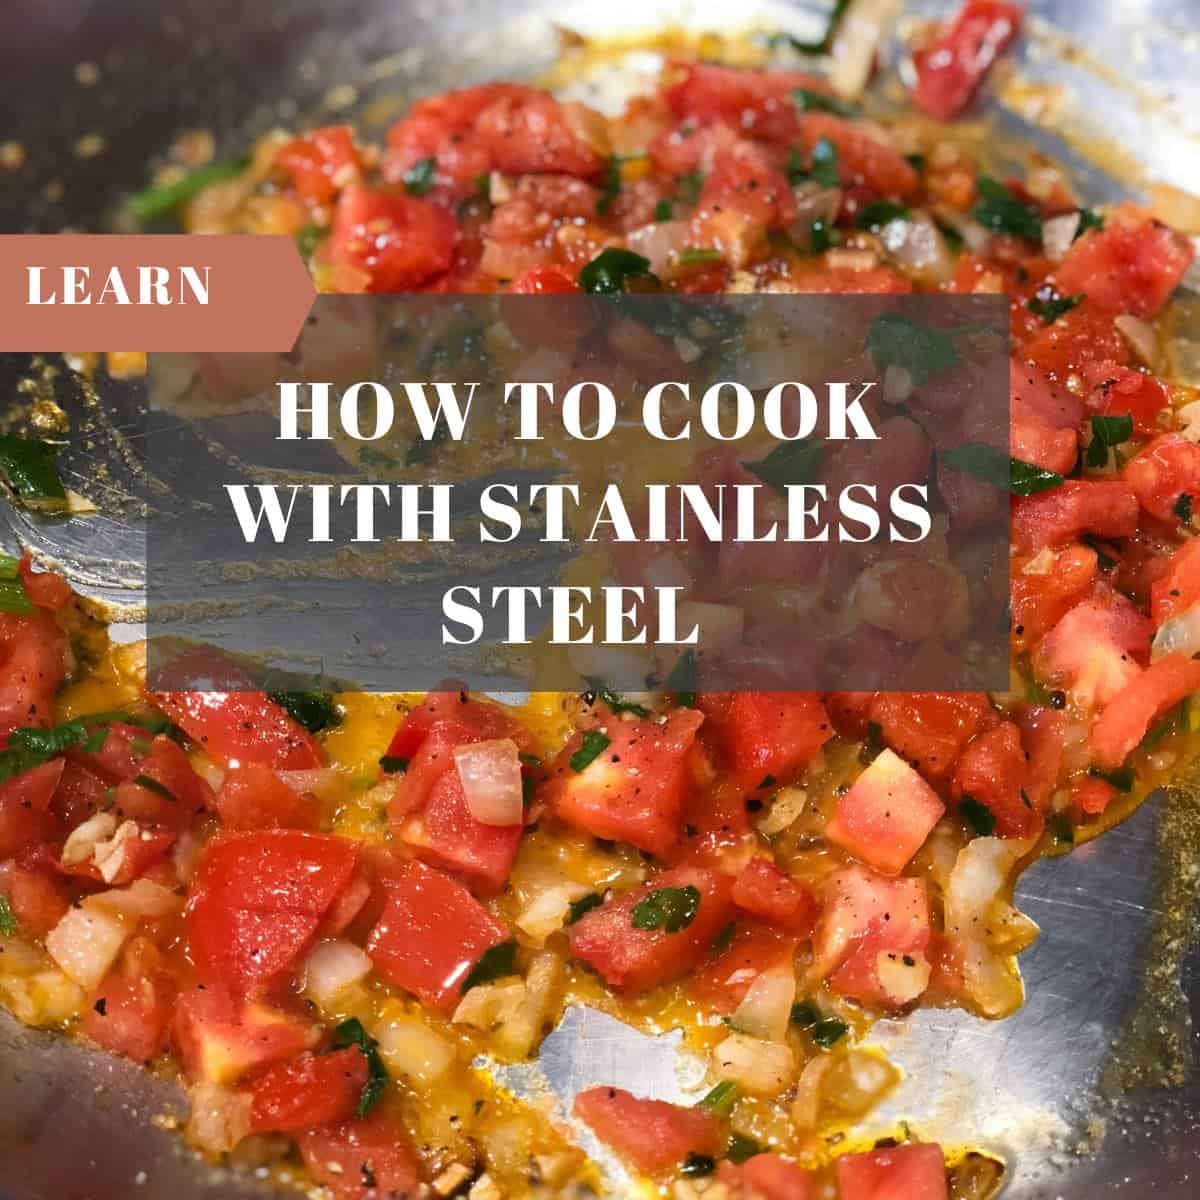
Learn how to cook with stainless steel, select the right pans, and discover simple tips and tricks that will help you cook with confidence!
One of the most common questions I get from readers, friends, and family is about which pots and pans I recommend. While I sometimes reference different pans in my posts, stainless steel varieties are my go-to.
Not only do they cook foods evenly and quickly, but stainless steel also promotes beautiful browning. Don't be scared of food sticking to the bottom of the pans! This is my secret to achieving incredible flavor in a variety of recipes.
However, I know stainless steel pans can be a little tricky to work with. That's why I'm sharing all my tips for choosing the right pan and using it effectively in your kitchen. By the end of this post, you'll know exactly which pans you need and how to cook your favorite recipes with complete confidence!
Jump to:
- Why choose stainless steel?
- 7 Essential Tips for Cooking with Stainless Steel Pans
- Troubleshooting - common issues
- Pro Tip
- Quick cleaning guide for stainless steel pans
- Choosing the right pan
- My Top Favorite Stainless Steel Pans
- Types of Pans (and their Pros + Cons)
- FAQs
- Recipes to Make with Stainless Steel Pans
- Other How-to Topics ...
Why choose stainless steel?
- Durability: Stainless steel is built to last, resistant to rust, and can handle high heat.
- Versatility: Stainless steel is suitable for a wide range of cooking techniques, including sautéing, frying, and even baking.
- Flavor Development: Unlike nonstick pans, stainless steel allows for the development of fond, which are those browned bits that add depth to your dishes.
- Health and Safety: Stainless steel is non-reactive, meaning no harmful coating or materials are released into your food when cooking. As a result, it's ideal for acidic foods like tomato sauces or citrus-based recipes.
7 Essential Tips for Cooking with Stainless Steel Pans
You can find endless tips and tricks for cooking with stainless steel with a quick search online. However, here are the seven tips that I swear by:
- Preheat the pan
- Heat your stainless steel pan over medium heat for a few minutes before adding oil or food. A well-preheated pan ensures even cooking and helps prevent sticking!
- Test the heat by adding a few drops of water to the pan. If the droplets form into a bead and glide across the surface, the pan is ready. If not, wait a bit longer and test it again.
- Setting the proper cooking temperature
- Medium heat is your best friend. Try to stay around a 5 to 7 on that dial (10 being the highest). Stainless steel conducts heat exceptionally well, which means it can go from perfectly heated to scorching hot in seconds. Going too high? You'll end up with burnt food and a smoky kitchen. The only time you should use high heat is for boiling water.
- Use oil/fat
- Add oil only after the pan is preheated. It will act as a non-stick surface. I like to add just enough to coat the surface of the pan.
- If the pan becomes too hot, remove it from the heat and let it cool slightly. We don't want to burn the oil.
- If working with oil and butter, add the oil first, swirling it to coat the pan. Then, add the butter. This way, the butter doesn't burn; instead, it blends with the oil.
- Prep your food
- It's good practice to bring ingredients to room temperature before cooking. Cold food on a hot pan will lower the pan's surface temperature, which can lead to sticking. Let meat, fish, and other proteins sit at room temperature for about 15 minutes before cooking.
- Remove any moisture from food before cooking. Excess moisture causes the food to steam, preventing it from browning properly. Before cooking, pat your proteins dry with a paper towel. This simple step is helpful in achieving that beautiful golden-brown crust on your scallops, fish, chicken, or other proteins.
- Don't overcrowd the pan
- Arrange foods in a single, even layer with spaces between pieces. Overcrowding the pan is a common mistake. When ingredients are packed too tightly, they release moisture and steam instead of searing properly.
- Give your food room to breathe. If you want those beautiful golden-brown edges on your scallops, fish fillets, or chicken tenders (after all that prep work in tip #4), spread things out. It's better to cook in batches than to crowd everything into one pan at once.
- Let food naturally release
- Resist the urge to poke and prod constantly! Once your food hits the pan, let it cook without touching it. Once properly seared, it will naturally release from the pan and be easy to move or flip. If that fillet of fish or scallop isn't moving easily, give it more time.
- Use proper utensils
- Fish, scallops, or chicken? Grab a thin metal fish spatula. It's very thin, elongated, and easily slides under delicate proteins without breaking them.
- Sautéing veggies? Wooden or silicone spatulas are your best bet. These are gentler and work well for stirring and tossing ingredients around the pan.
Troubleshooting - common issues
When cooking with stainless steel, I find two issues that people encounter most often. These include food sticking and food burning, but don't worry! With a few tips and tricks, both can be easily avoided.
If your food is sticking...
- Make sure the pan is properly preheated and oiled or buttered. A hot, lightly oiled pan is your first defense against sticking.
- Keep the heat at medium to medium-high. If you see smoke or the pan gets too hot, remove it from the burner and let it cool down.
- Don't mess with the food. Let it cook undisturbed until it naturally releases from the pan. Trying to move it too early is a guaranteed way to create a sticky mess.
If your food is burning...
- Lower the heat to medium or medium-high. Stainless steel is great at holding and spreading heat, so you rarely need those high flames.
- Embrace the brown bits! Those browned pieces stuck to the bottom of the pan after searing meat or fish are flavor bombs. Turn them into a delicious sauce, as in this roasted honeynut squash stuffed with ground beef recipe.
Pro Tip
If your pan is covered in those delicious browned bits stuck to the bottom, deglazing is your secret weapon. One option is to deglaze with a liquid. Add a splash of wine, broth, or water to the pan and gently scrape those browned bits from the bottom. The liquid helps dissolve and lift the fond, creating an instant flavor boost. Another option is to add some vegetables, such as onions, garlic, mushrooms, or a mirepoix (a mix of carrots, onions, and celery), to the pan. These veggies release their liquid and naturally help lift the flavorful fond, adding depth to the sauce.
Want to take it to the next level? Combine both methods - sauté your vegetables first to help release the browned bits, then add a splash of liquid to create a rich, complex sauce that will make everyone think you're a professional chef.
Quick cleaning guide for stainless steel pans
Contrary to popular belief, stainless steel is not difficult to clean. Here are a few simple tricks to keep your pans looking great!
- Wash with warm, soapy water with a non-abrasive sponge after each use.
- To remove stubborn stains, mix baking soda with water to make a paste. Or, for a faster option, use this baking soda cream cleaner. Let the mixture sit for a few minutes. Then, use a spatula to help scrape any stuck-on food from the pan.
- For extra stubborn stains, place the pan back on the heat and add enough water to cover the bottom of the pan. Use a spatula to gently scrape the bottom of the pan as it warms, releasing any stuck-on food.
- Have rainbow or blue heat marks? They are harmless but can be easily removed. Dampen a soft cloth or sponge with white vinegar and wipe the discolored area.
Note: While some people prefer to use Bar Keepers' Friend cleanser for their stainless steel, I prefer to use less harsh, less toxic cleaners. Plus, with the tips above, I've never had the need for stronger cleaning products. My pans are about 20 years old and still look new!
Choosing the right pan
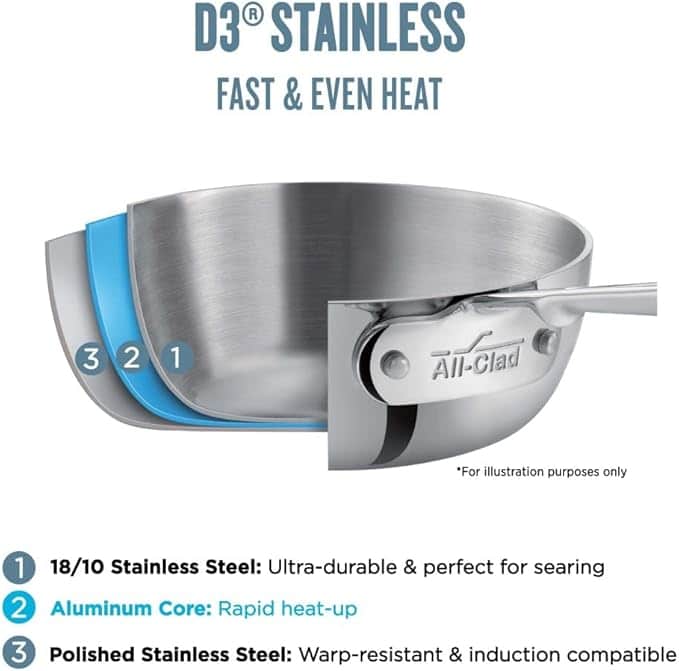
When it comes to stainless steel cookware, not all pans are created equal. For better performance, look for pans with a tri-ply or 5-ply construction. This refers to the number of layers of different metals inside the pan, typically an aluminum or copper core sandwiched between stainless steel. This combo offers the best of both worlds: the quick, even heat conductivity of aluminum or copper, combined with the durability and non-reactive surface of stainless steel.
A good quality pan will feel substantial in your hand and have a smooth, polished finish. I recommend investing in a few key pieces rather than buying a large set. Personally, I'm a big fan of All-Clad - their pans are an investment, but mine have lasted for decades with proper care.
When deciding which pans to buy, consider your cooking needs. What kind of dishes do you typically make? How many are you cooking for? Do you need something versatile because you have limited space, or do you often make one-pot meals, stir-fries, or rice dishes? Whatever your cooking style or preferences, here are two pans I own and recommend:
My Top Favorite Stainless Steel Pans
I have two main pans that I use regularly in my kitchen. These workhorses have served me well for years:
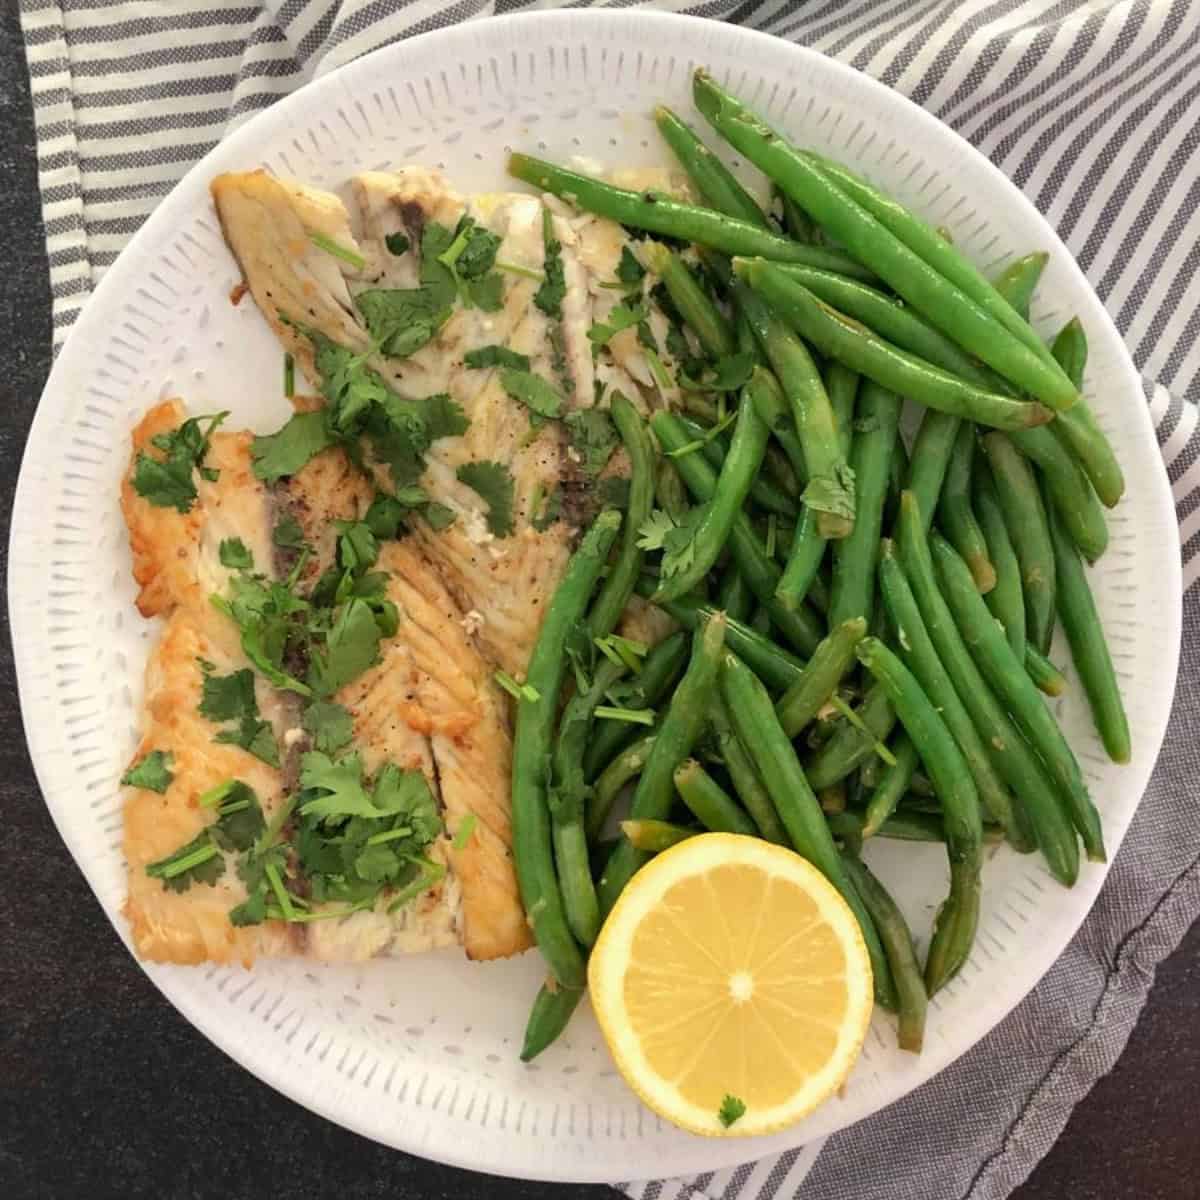
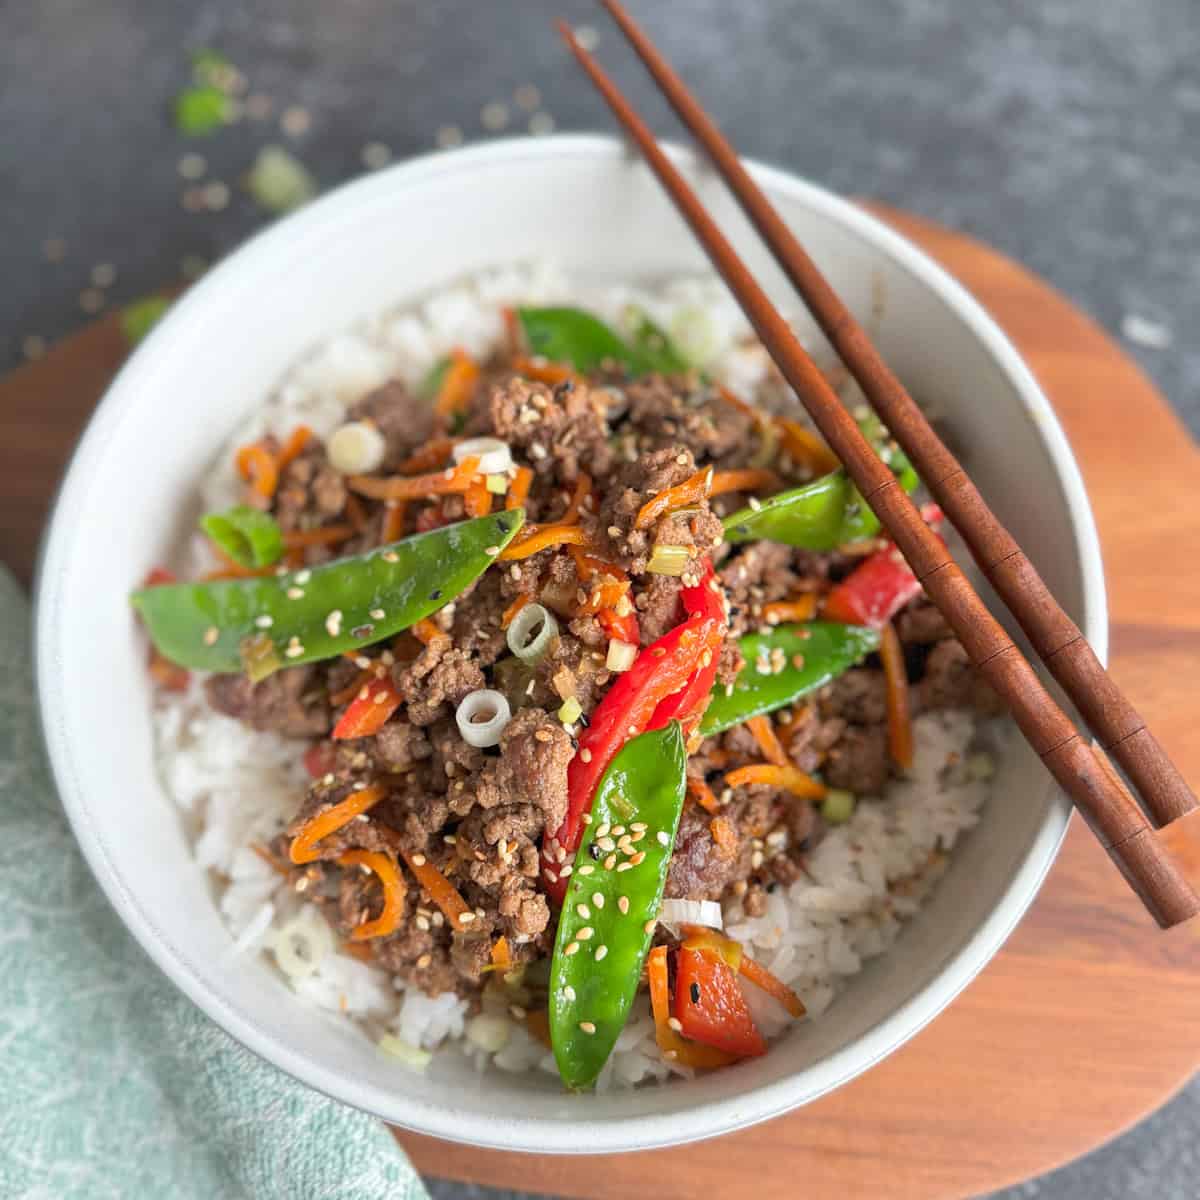
1. Sauté Pan - The Workhorse
This is my absolute favorite everyday pan that I reach for most often. The large, flat bottom surface is perfect for searing fish fillets, such as in this barramundi recipe, browning chicken breasts, or sautéing meat for stews. The high sides make it ideal for everything from sautéed vegetables to one-pot rice dishes or stir-fries, like my ground beef stir-fry.
Additionally, unlike cast iron, stainless steel pans are ideal for cooking with tomato sauce and other acidic foods, as they are non-reactive.
My pan is about 4 quarts in size, which is perfect for my family of four. When cooking, I'm often able to make enough for dinner and have leftovers.
It is also great that this pan can be used on both the stovetop (range top) and in the oven, as I do in my favorite chicken breast recipe. And it works perfectly on induction cooktops, too.
I use a D5 pan, which means it is a 5-ply pan, costing a bit more than the 3-ply (D3) option. However, I find the extra layers well worth the investment - they allow for even heating and more control when cooking, and are a bit more forgiving.
Similar options to check out:
- All-Clad Weeknight Pan
- All-Clad Universal Pan - instead of a long handle on one side, it has two side handles.
- All-Clad D5 Saute Pan - available in 3, 4, or 6 quart sizes and features straighter sides.
2. The Essential Pan
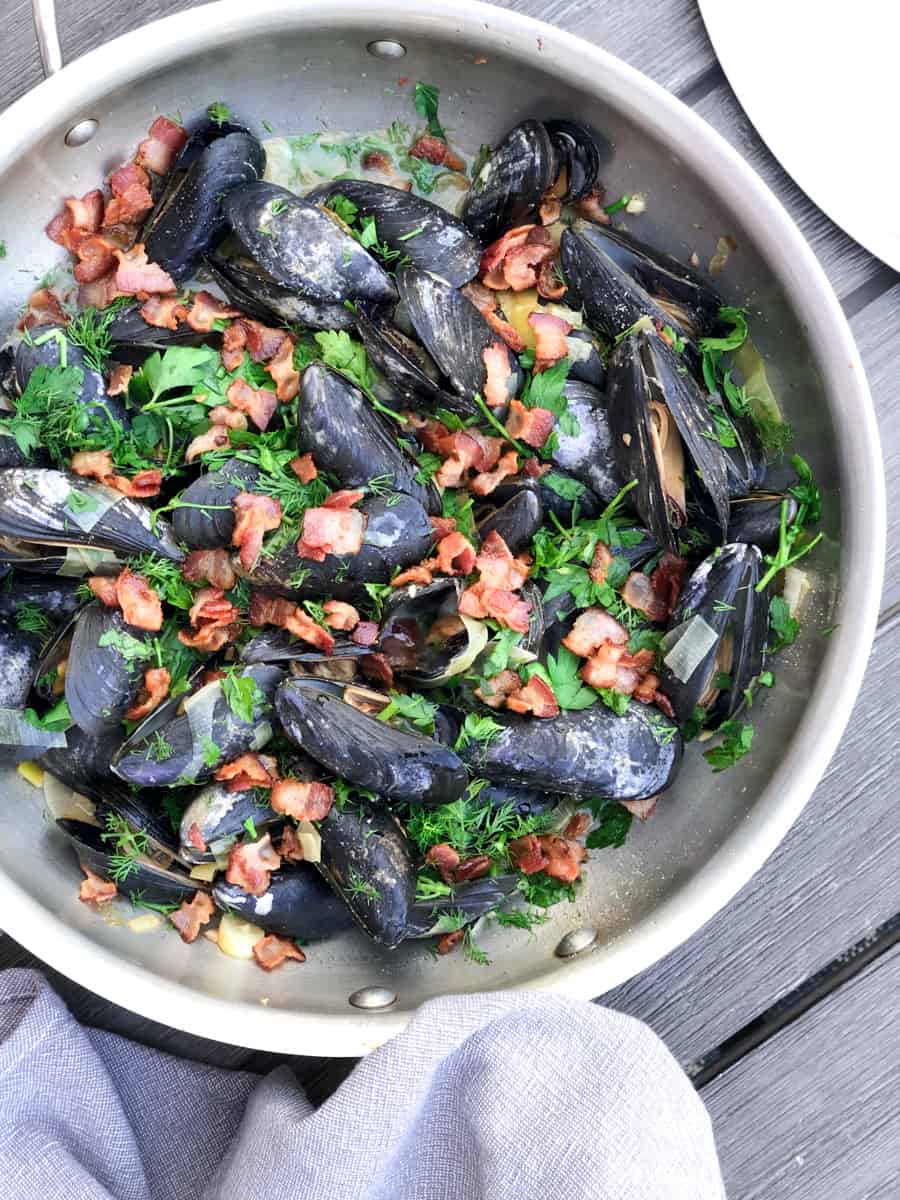
My second most-used pan has a smaller bottom surface but wider, higher, rounded sides - similar to a saucier. It's especially great for dishes with more liquid. The higher sides prevent splashing and allow for better stirring of saucy dishes.
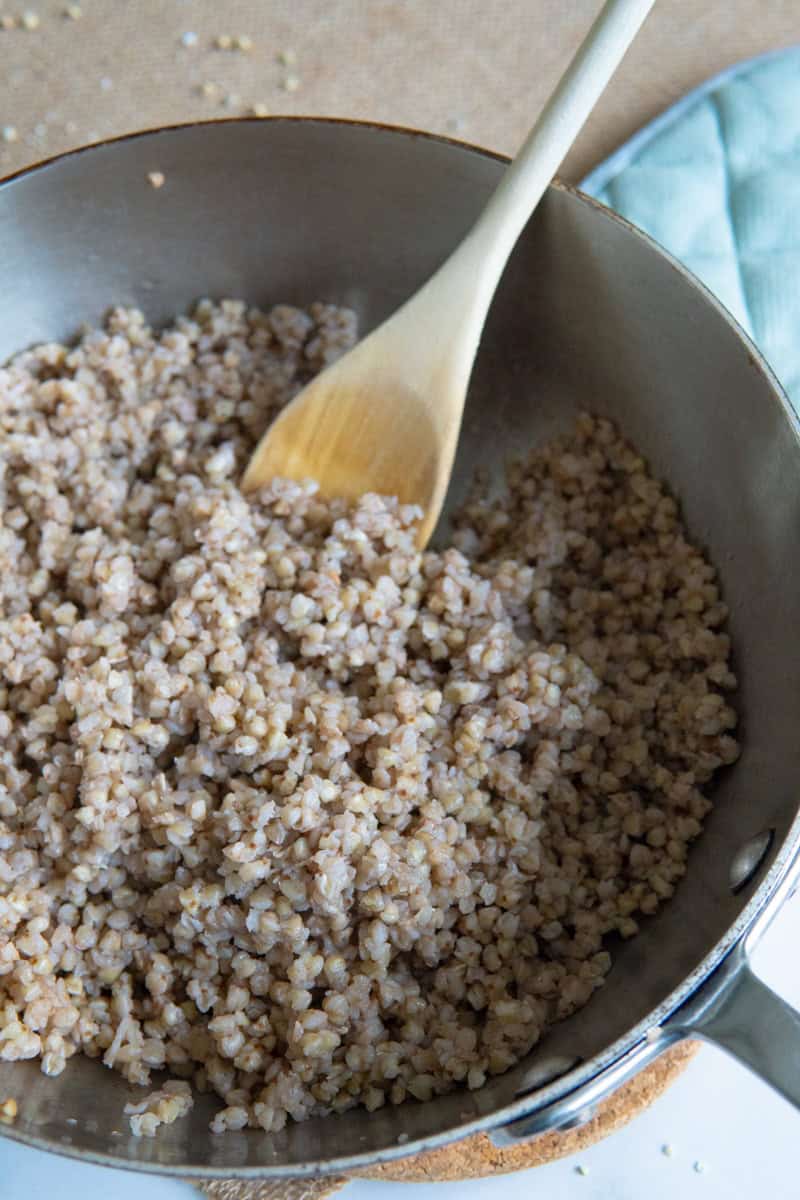
This pan excels at various cooking techniques, including sautéing, braising, simmering, poaching, and even deep-frying. It's ideal for making sauces, cooking risotto, preparing rice or buckwheat, smaller portion soups, pasta meals, one-pot dishes, and even small stews, such as my Moroccan chicken stew.
The pan I have is an older model, so I'm not sure of the exact size, but I believe it's around 3 quarts. This pan, just like the saute pan, works flawlessly on the stovetop, in the oven, under a broiler, and with convection heat. It is also compatible with induction cooktops.
Similar options to check out:
- All-Clad D5 Essential Pan - available in 3-quart, 4-quart, and 6-quart sizes.
- All-Clad Saucier - higher sides with a more compact bottom.

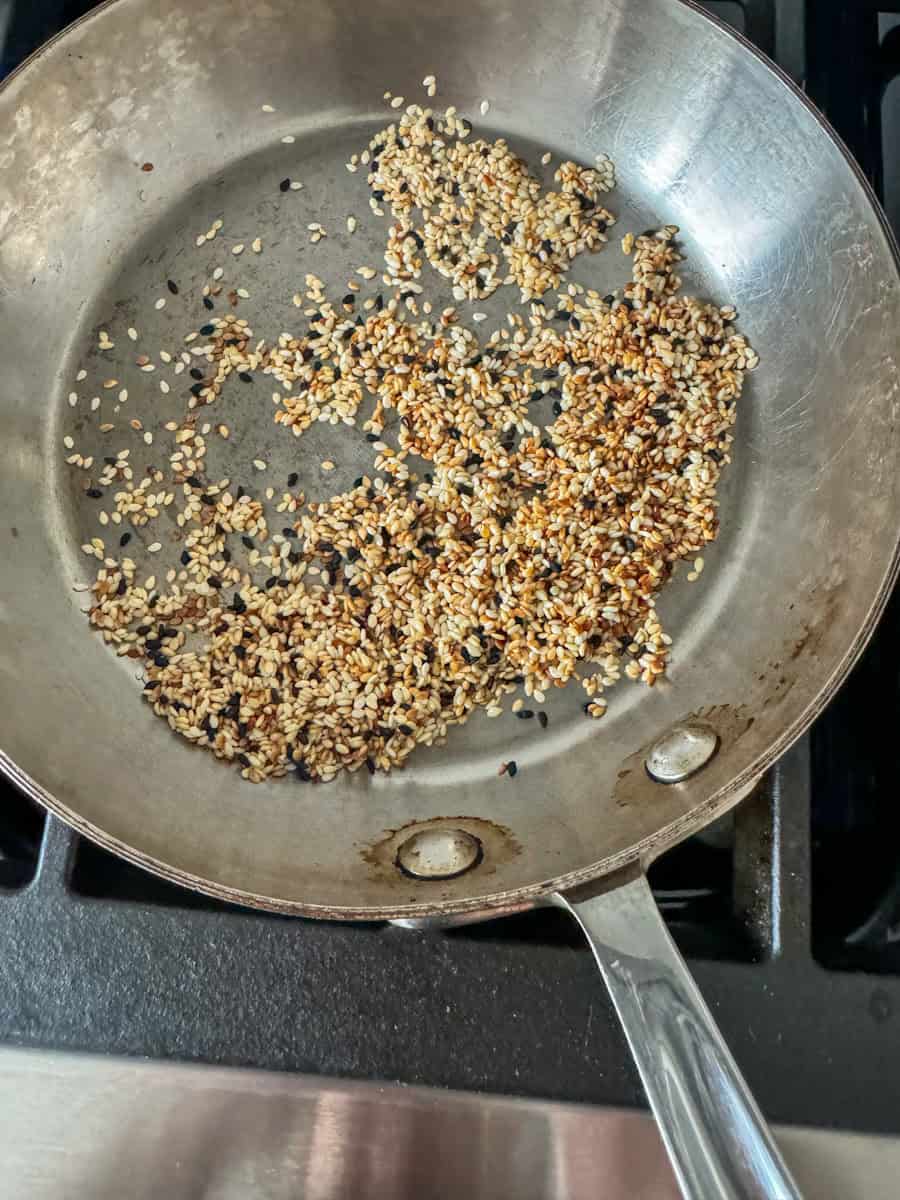
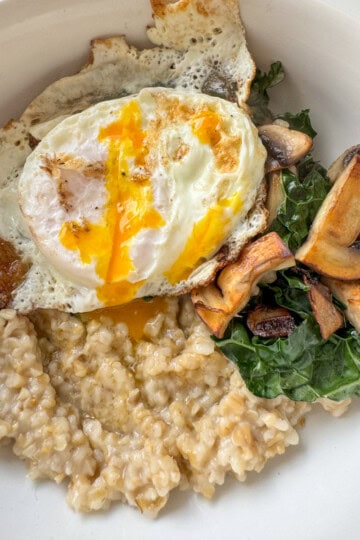
Bonus Pan: Small Stainless Steel Skillet
While not necessary for every kitchen, I also love having a small pan for quick tasks, such as toasting seeds (like sunflower or sesame) or nuts for recipes. It's also perfect for making a single portion of eggs (if you've mastered cooking eggs on a stainless steel surface, that is!) The pan is small, easy to use, and easy to clean, making it great for single servings - not a must, but definitely a nice-to-have.
Types of Pans (and their Pros + Cons)
| Material | Best Uses | Pros | Cons |
|---|---|---|---|
| Stainless Steel | General cooking, searing, sautéing, recipes with acidic ingredients, and stove-top to oven dishes. | Durable, versatile, non-reactive, with excellent heat distribution, works on all surfaces, including induction, and is long-lasting. | Requires practice and technique to use and balance proper heat and prevent sticking, higher initial cost. |
| Cast Iron | High-heat cooking, searing, baking, and suitable for the grill or stovetop. Great for steaks or recipes needing heart retention. | Excellent heat retention, develops natural non-stick surface over time, affordable, extremely durable, can add iron to food. | Heavy, can react to acidic foods, requires seasoning and maintenance, can rust if not properly cleaned and cared for. |
| Non-Stick | Low-fat cooking (without oil), eggs, fish, pancakes, and delicate foods. | Easy food release, simple to use, uses less oil, and features quick cleanup. | The surface deteriorates over time, is not safe for high heat, scratches easily, has a shorter lifespan, and can pose health concerns. |
| Ceramic | Low to medium heat cooking, delicate foods. | Nonreactive, initially good nonstick properties. Some are budget-friendly, lightweight, easy to handle, and easy to clean, and require less oil. | Nonstick properties diminish over time, potential health concerns if coating is scratched or chipped. Not as durable as other options. Not compatible with metal utensils. |
| Carbon Steel | High-heat and outdoor cooking, professional-style cooking, searing meats, making omelets, and crepes. | Lightweight yet durable, develops a non-stick patina over time, excellent heat conductivity, works on all cooktops, and is less expensive than some other materials. | Requires seasoning, can be reactive with acidic foods, and needs maintenance similar to cast iron; may discolor over time. |
FAQs
Yes, stainless steel pans are non-toxic and safe to cook with. Unlike some other cookware that has chemical coatings that can degrade and potentially leach into food, stainless steel provides a clean cooking surface. Quality stainless steel cookware is typically made with 18/10 stainless steel, which is ultra-durable, with layers of aluminum or copper in between the layers of stainless steel, depending on the number of "ply" it has. This gives a stable, non-reactive surface to work with that won't release harmful chemicals into the food.
No, stainless steel pans are not naturally nonstick. However, you can minimize or prevent sticking with a few simple cooking tips: use medium heat, preheat your pan, add oil or fat after the pan is hot, ensure the food is dry, and allow the food to cook or brown before attempting to move it. These steps create a barrier between the pan and the food, which helps it act like a nonstick.
Wooden, silicone, plastic, and even metal utensils are all safe to use with stainless steel pans. One of the most significant benefits of stainless steel is its durability. Unlike other surfaces or materials, it can handle just about any utensil. That said, my most preferred are silicone and wooden ones for general cooking. Metal utensils, such as a thin fish spatula or tongs, can be handy for flipping fish or other proteins and for grabbing and turning food.
Recipes to Make with Stainless Steel Pans
Ready to put your new skills to work? These recipes are perfect for practicing your technique while making something delicious.

Other How-to Topics ...
Take your cooking skills to the next level! Learn:
Leave a Reply